Steps to Production Series - Pattern Making
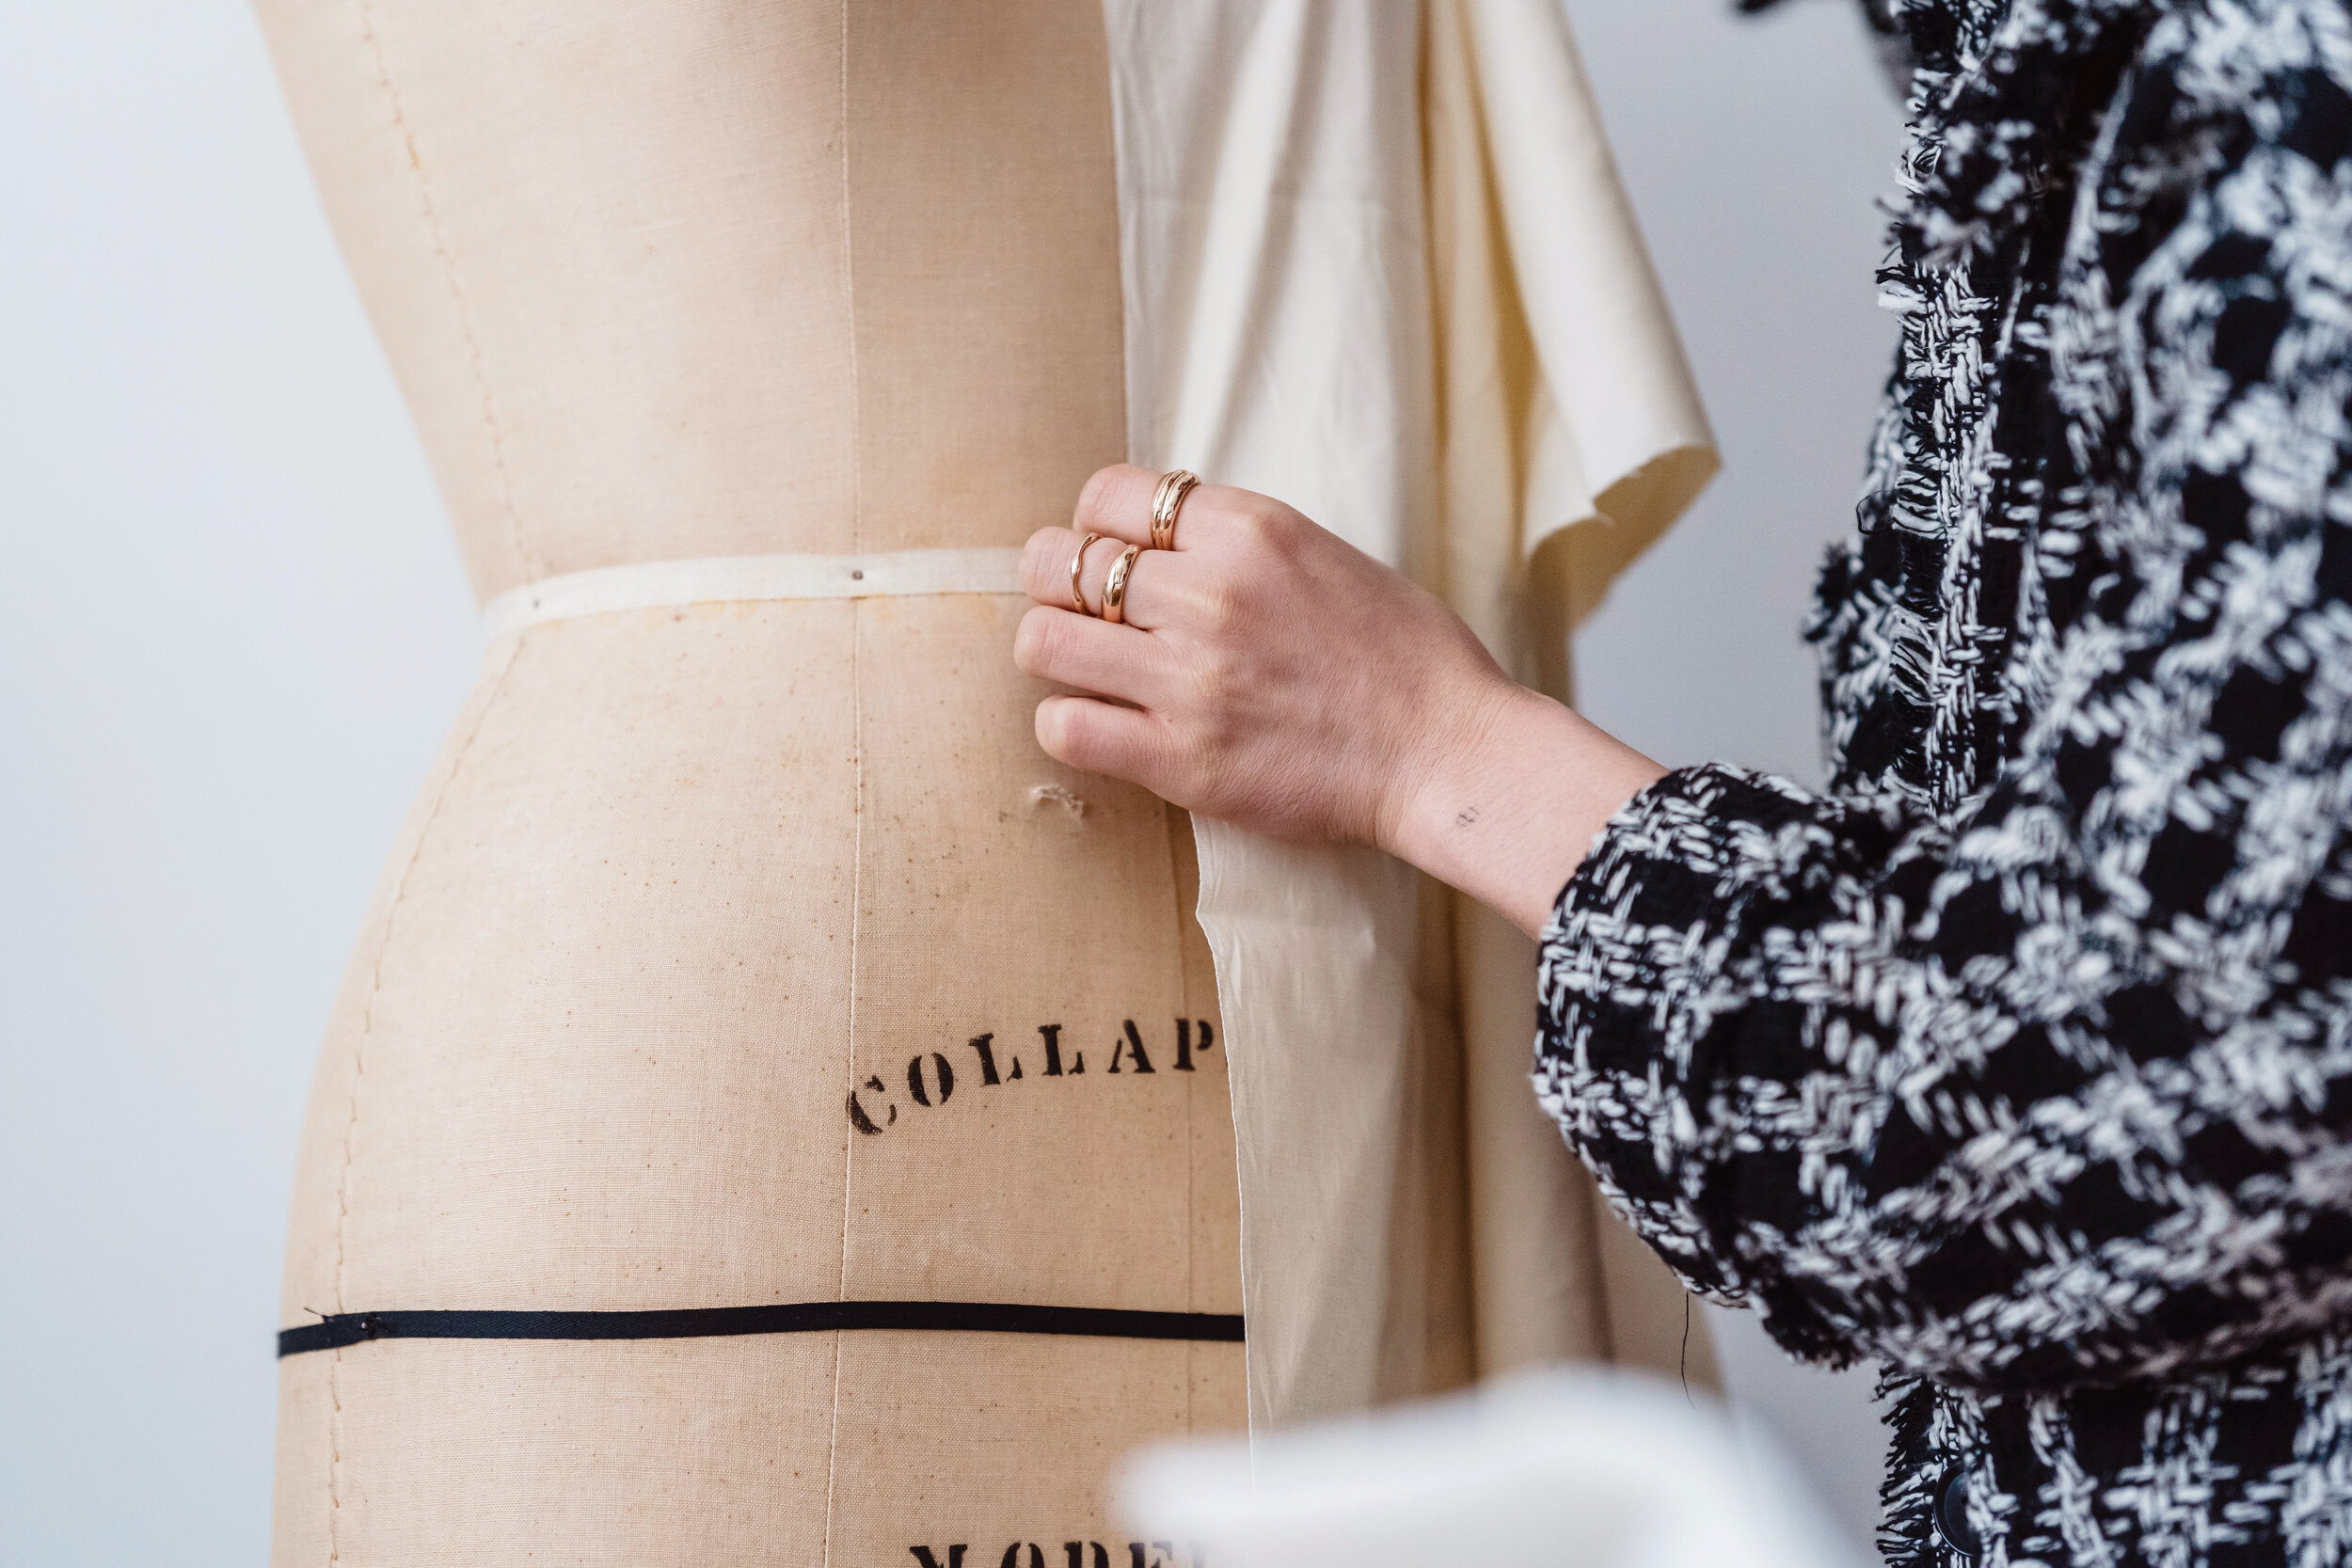
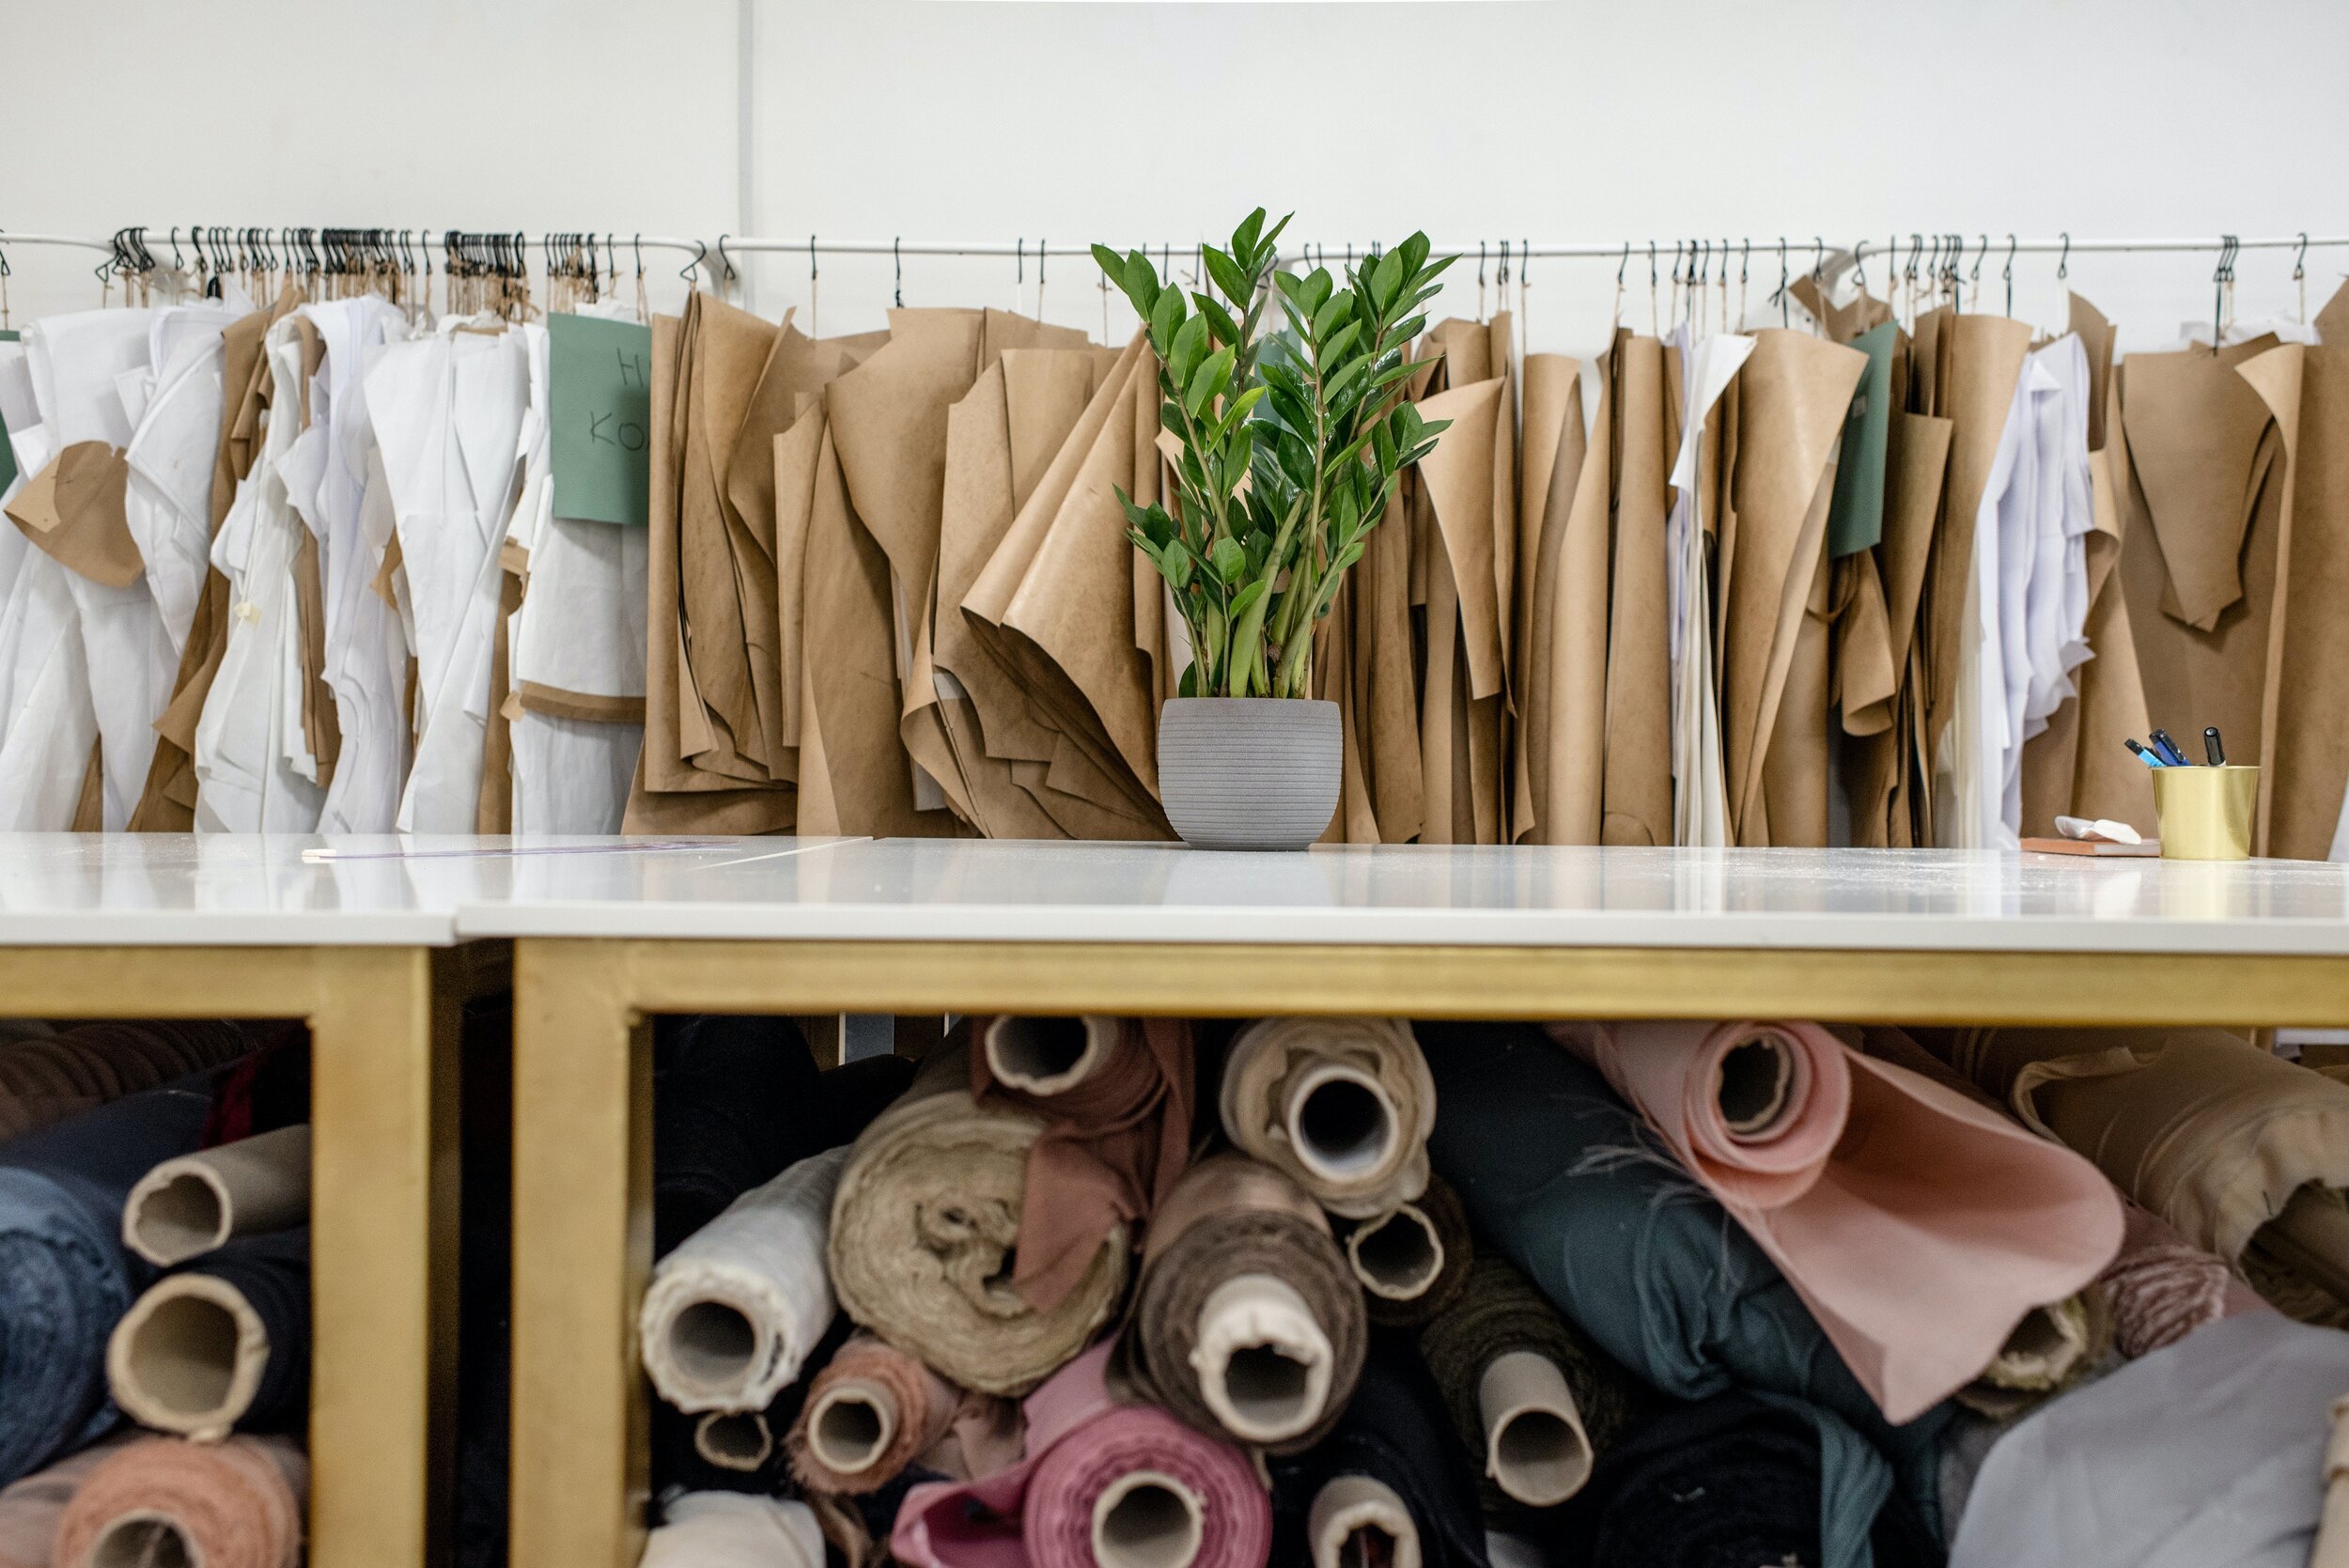
Pattern making is by far the most essential step to launching a successful brand. In this blog post, I will run you through what steps YOU need to take to ensure the success of your patterns as this is not solely your pattern maker's responsibility, as many may think.
This is not a step to try to skimp on. One of the things I’ve probably repeated a million times in the 13 years of launching brands with V.Mora is, “If it doesn’t fit, it doesn’t sell”. Even if you have hand embroidered that garment with diamonds, if a customer puts it on and the fit is off they won’t buy it. So, what can you do on your end to ensure the fit in the pattern making process? I’ll run you through it. But also remember to continue reading the blog as there are more ways to ensure the fit than only the tips here.
When sourcing a pattern maker it is important to know if they have experience in your type of product. Swimwear, activewear, wovens, knits, suiting all have different pattern techniques. Ask for references and be thorough. This is where you really need to look for someone with YEARS of experience as this step is of the utmost importance. Intern level pattern makers will give you intern level patterns, so budget accordingly to work with someone highly qualified. A pattern will cost anywhere from $100 for a T-shirt to $1000 or more for fully lined gowns or suiting jackets, so it’s also important to ask for an estimate. For accurate quoting, I always ask for a spec sheet or tech pack and swatches.
When we start patterns for a client, prior to doing any work, we first must have generate the following information:
SPECS - Refer back to the blog about Size Charts to help determine your base size specs. Your base size should be the middle of the sizes you plan to offer. Example: XS-XL, your base size should be size M. When creating patterns, you first make the middle range pattern and grade from there after the base size fits perfectly (more on this in a later blog). The specs for your base size will be the measurements pulled from your size chart for this size. An example would be, say you are creating a Size M for the base, the specs could look like: Bust 34 Waist 29 Hip 40 (again, these measurements are based on the research you’ve done to determine what your size chart will look like for your customer base). These are the most basic specs you’ll need to provide. If you know what you want the sleeve length or the pant leg length to be, include those as well. These more specific spec measurements can also be determined later on when you do a prototype fitting.
SPEC SHEET - This is a simplified version of what later will turn into your tech pack. It includes a sketch of the garment, size you are creating, spec measurements, and swatches. The details of finishes, label placement, etc., can be built later on when you are creating your sample as the pattern maker needs to know the basic information to create prototypes off of.
LIKE SAMPLE - This, while not always required, can help you get closer to where you need to be faster. This means shopping! Or using your favorite leggings as an example of fit. It obviously will not have your exact style details but a lot can be determined about the overall fit of a garment if provided to the patternmaker. If you are creating jeans, having a pair of jeans you like the fit of can help in duplicating the fit when creating the patterns. This is true, even if the leg is a different width, the waist higher, or something else. More than likely you are not recreating the wheel, if you are making a button up, find one you like the fit of or a popular brand your client is familiar with.
MATERIALS - While you may not think that you need the materials in order to create a pattern, it is essential to the process. Things like zipper lengths, buttonholes, and interfacing all are indicated and directed through your patterns. Not to mention the type of fabric changes the actual pattern itself. The same jacket style created out of a canvas would have a different pattern than one created out of a sherpa. This is due to the thickness of the fabric itself. A thick fabric like a sherpa needs more ease to fit properly. The stretch of a knit changes the pattern too! If a fabric has a lot of give, then it needs to be worked into the pattern to properly fit. Having the materials for your pattern maker gives them the needed information to do their job right.
If you have all of these above items, you are ready for pattern making. At V.Mora, we normally take about one to two weeks to create a pattern, and then you are ready to create your prototype. Our team does both the pattern and protos. Some pattern makers are strictly pattern makers, and you’ll have to find someone else to sew up the protos. Usually pattern makers will have references for this but there are obvious advantages to having this done under one roof as the pattern maker will understand your project better as a whole.
I’m not going to get into the technicalities of making patterns here. It is a learned technical skill. I started V.Mora as a pattern maker myself, but even that took years of training. I went to school for Fashion Design, a four year program, and only received the tip of the iceberg when it came to making really great patterns. After school I worked under a 70 year old master pattern maker and she was the one that taught me how to take my basic knowledge and turn it into a profession. It wasn’t easy, as it’s mathematical, precise, and takes a lot of practice. Unless you have a minimum of five years to work under a master pattern maker, it is best to hire out and delegate this step.
Interested in hiring us for patterns and samples? V.mora offers a wide range of Pattern and Sample Making services. From the initial sketch to the first sample: we create patterns and samples, correct the fit, adjust design details and make improvements, then ensure that patterns are production-ready by digitizing and grading them to specific sizes. V.Mora ensures a perfect production-ready sample. Our team can help you with all the steps to get your product through development in as little as three months.
Steps for the Product Development:
Sourcing
Technical sketches
Pattern Making
Prototype making
Sample Making
Fittings
Digitizing and Grading
Marker Making
Manufacturing
For product development services, please email vmorainquiry@vmora.com


