
Steps to Production Series - Digitizing and Grading Your Patterns
What does it mean to make your pattern digital? And then grade it? In this post, I will walk you through why this is so important about digitizing your patterns, grading them, and tips for working with a grading company.

Up until now your patterns have probably been paper. The art of pattern making by hand is truly a beautiful thing. Many entering technical design and patternmaking have entered it during the digital age without the experience of paper, and many have missed the boat on the digital age as well. So while it’s still worth it to take experience over being tech savvy you will have to take these paper patterns to the next level by making them digital. After all, having a digital backup is never a bad idea! It’s a security beyond all else, protects from water damage, misplacement and all the other things that can happen to a piece of paper.
So, What do you need to prepare for your digitizer? You will need the cutters must, this comes more into play once we need to make a marker, but more on that in next week's blog. You’ll want to check to make sure your cutters must reflects your corresponding pattern pieces. This is as simple as looking at the pattern pieces and your cutters must lists and making sure you have each one pattern piece. You’ll want to be sure every piece is there so nothing is missed in the process. There’s nothing worse than getting a call from your factory that they do not have a cuff piece for any of your garments because it was left off the marker!
To digitize your pattern, the paper pattern is laid out on to the plotter and scanned. It is then inputted into the pattern system (optitex, gerber, etc) and cleaned up. They make the seams perfectly matching, true all the edges, and fix all the minor mistakes that only a computer can do!
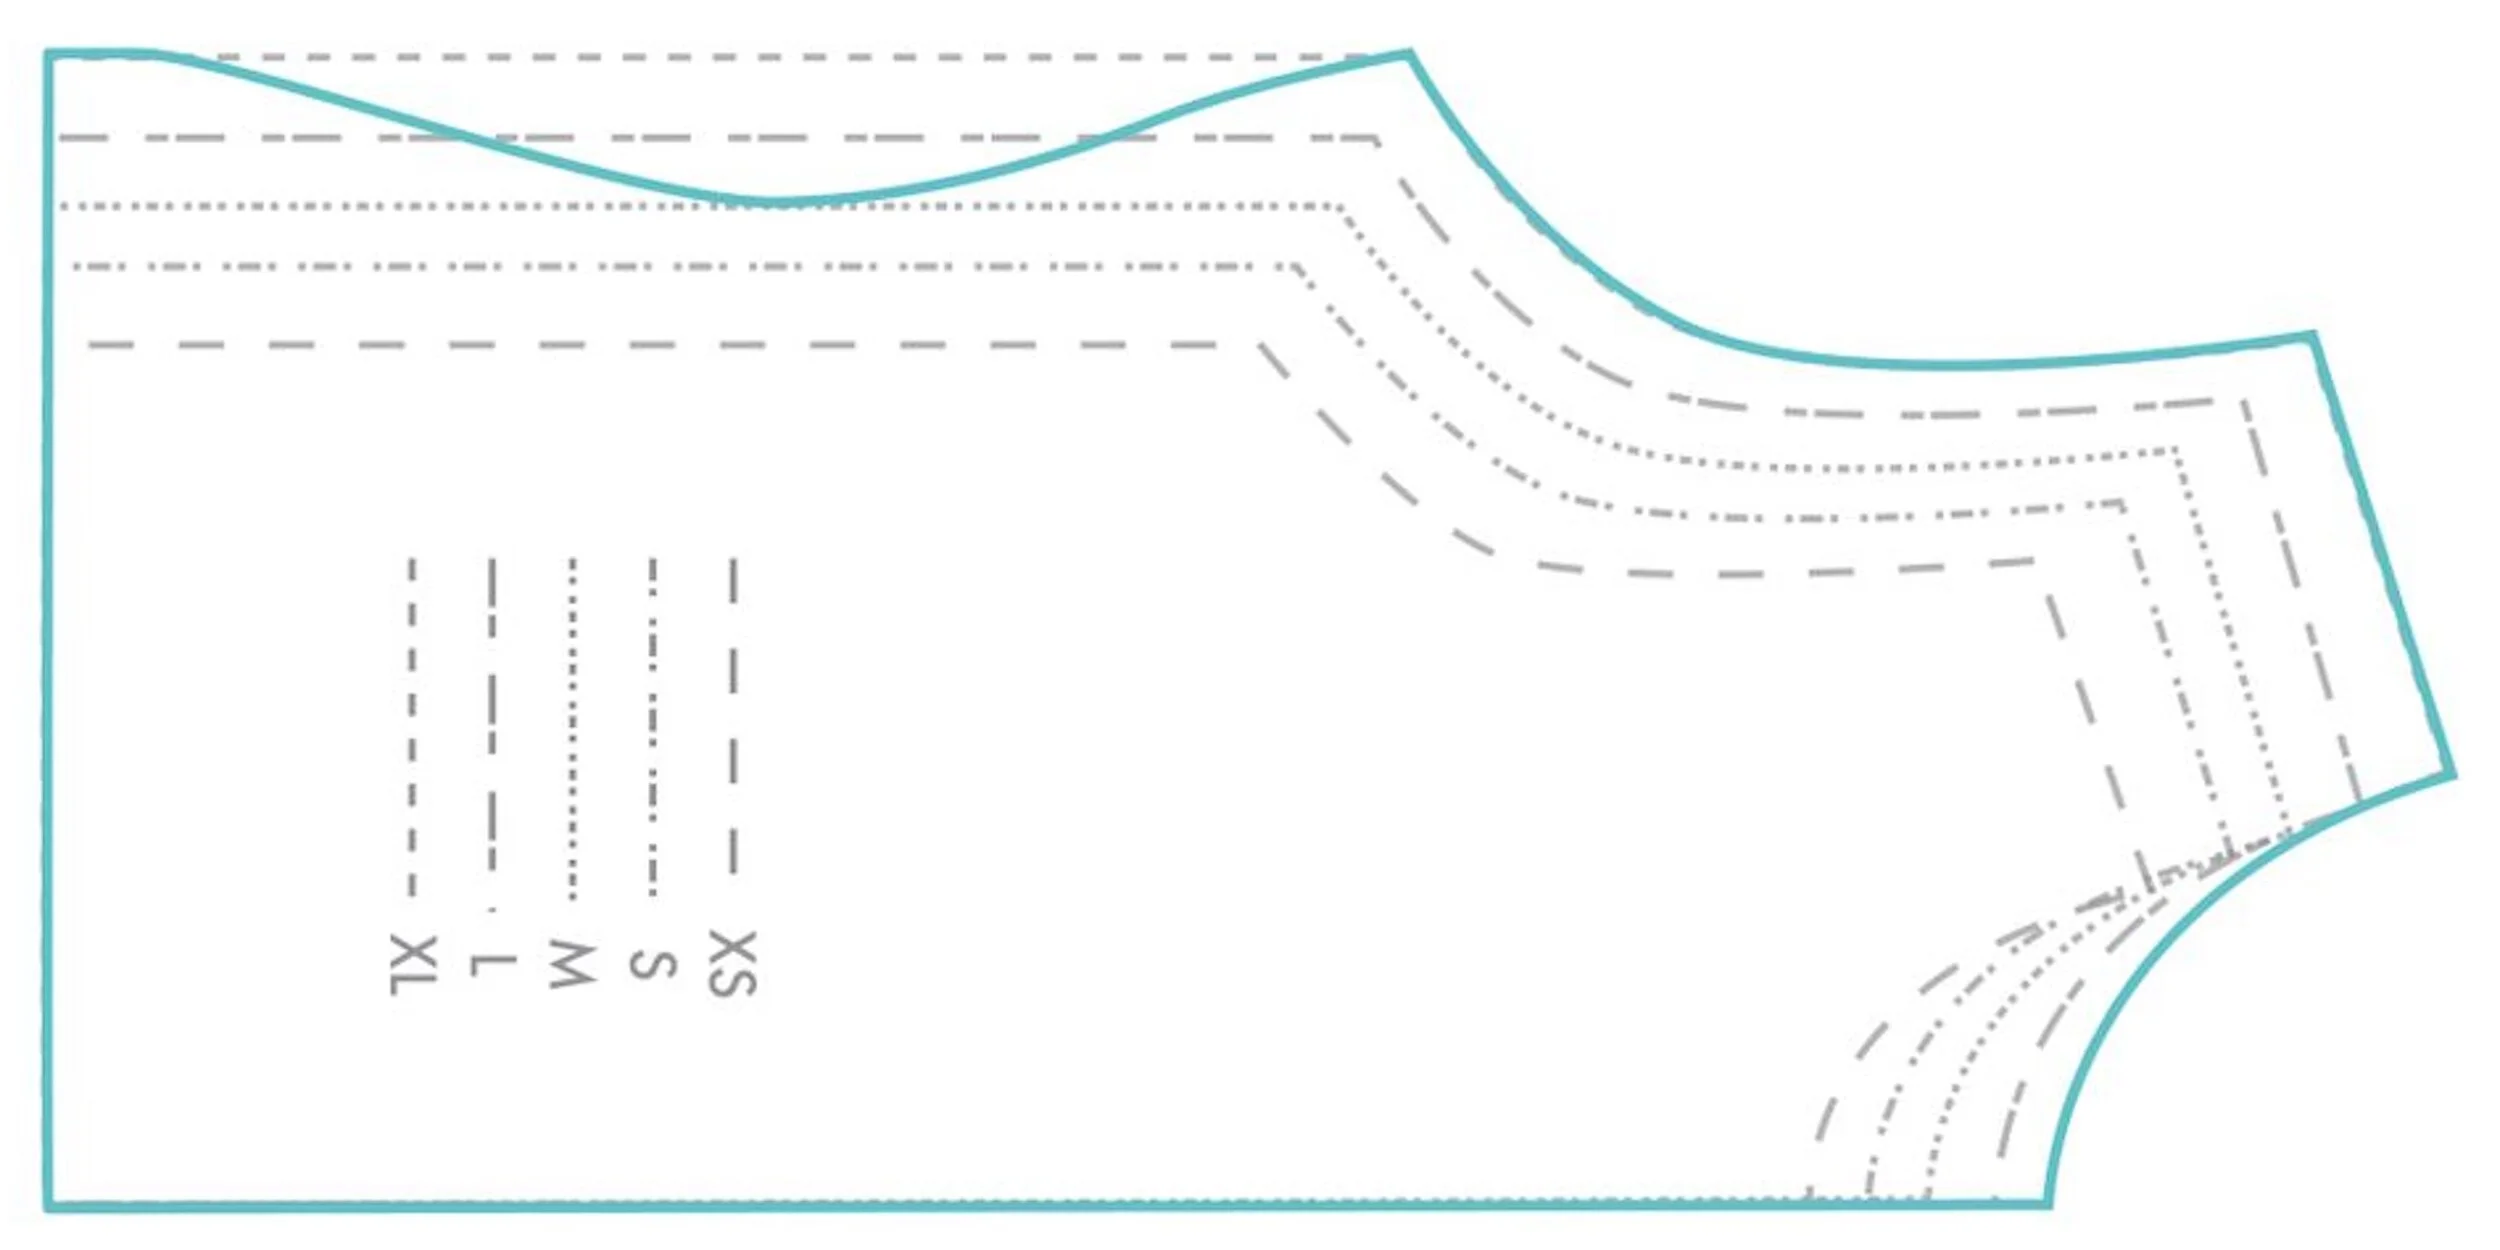
Once the pattern is digital, you will move into grading the pattern. At the very least, you will have to provide a size chart to inform your grader of your grade rules. Like does your bust grow 2” between your size M and size L? They will be able to pull that information from the size chart. There are standard grade rules for the shoulder width, the length, things like that, that an experienced pattern grader will be aware of. If there is anything specific (like not wanting the hem to grow by 1” per size) talk to your grader about what your expectations for grading are. Plus, keep in mind you will be fitting each size prior to production just to ensure all went well.
This step in the production process has many steps. The pattern making, grading, and digitizing equipment alone can cost anywhere from $14,000-$25,000 plus. When you are at this point in the production process not only is it expensive, but a huge learning curve to do it all on your own.
At V.Mora we have connections with Pattern Makers, Graders, and Technical Designers that have their own equipment. Our clients have the benefit of high quality work and good technology at the fraction of the price of buying the equipment themselves.
Steps for the Product Development
Sourcing
Technical sketches
Pattern Making
Prototype making
Sample Making
Fittings
Digitizing and Grading
Marker Making
Manufacturing
For product development services, please email vmorainquiry@vmora.com
